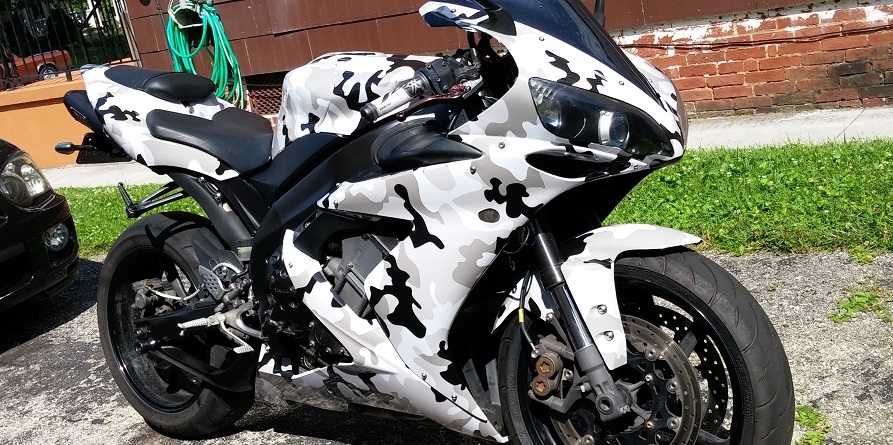
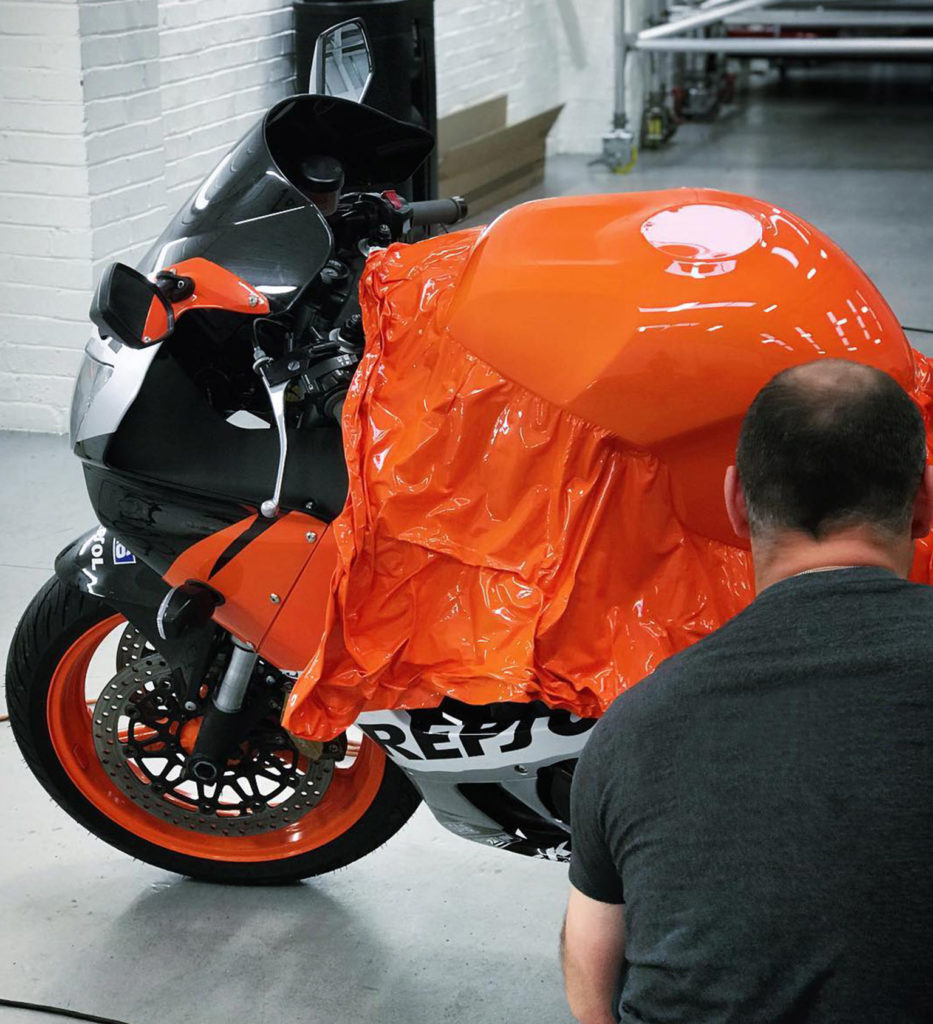
Is your motorcycle looking a little dingy, or are you tired of the color, you have a great option for giving your bike a new look. You also don’t have to break the bank to achieve it. For a long time, the only way to change the color of your bike has been with a new paint job. However, times have changed for the better, and you now have a new way to do it- A vinyl wrap.
Vinyl wrapping your motorcycle is just what it sounds like- you place a protective vinyl film on your motorcycle, using the color or design of your choice. For a long time, this was a project best suited for professionals, but with the advent of DIY options, it’s something that you can now do at home for a fraction of the price. Additionally, the color choices and designs are seemingly endless, allowing you to achieve the exact look you’re after.

The great thing about a vinyl wrap is that you can choose what and how much you want to change. So while you can wrap your entire bike, you can also pick a few key sections. Vinyl wrapping is also completely reversible, allowing you to remove it in the future without damaging your bike parts.
Why consider doing a bike wrap?
If your stock paint has seen better days, applying a vinyl wrap is an easy and cost-effective way to give your bike a fresh new look. If you opt to do it yourself, it’s also a cheaper alternative than even an inexpensive paint job (and considerably cheaper than a higher-quality paint job). Vinyl wrapping is also great for bringing out your inner artist- it allows seemingly unlimited options for color, patterns, graphics, etc. If you’re aiming for a unique design, adding some complimentary colors and custom graphics can give your bike a one-of-a-kind look.
Vinyl wrapping your bike will also do more than improve its aesthetics. The vinyl wrap will also add a protective layer over the metal or painted metal bike parts. As mentioned above, it’s also completely reversible, so when you’re tired of the design, or it is nicked up or faded, you can remove it and add a whole new layer (or go back to the original design).
What bikes or parts can be wrapped?
Almost any element of your bike that is not the engine or subject to high heat can be wrapped. It’s not just for plastic covers. Most metal components, including the frame, motorcycle tank, fenders, etc., are perfectly fine to wrap. Just be sure to avoid anything that gets hot, like the engine.

For best results, you may need to remove sections of the bike to be wrapped, but if you enjoy wrenching on your bike, you have probably done some of this work already, and it shouldn’t be too difficult. Also, unlike cars, most bike parts are independent of each other and can be removed without much trouble.
Bike wraps aren’t just for plastic sport bikes or dirt bikes; it’s also popular for cruisers, touring bikes, ADV bikes, or any other street bike. Aside from a close visual inspection of the bike, it’s hard to distinguish a wrapped bike from a painted bike.
Professional vs. DIY Projects
Assuming you already decided that you want to wrap your bike, you’ll likely face the next question: take on the project yourself or pay to have it professionally wrapped. While a professional wrap will be less of a hassle and should provide a quality result, it will also be much more expensive. If money is no issue, then, by all means, take it to a professional. However, if you want to save a lot of dollars, you can do it yourself- many people have.
Professional costs
When it comes to hiring a professional, you’ll be paying for the labor in addition to the materials. While the wrap material itself is relatively inexpensive, the labor is not. For a good quality job, you can expect to pay anywhere from $1,500 to $4,000 for a more complicated job. The ultimate cost will largely depend on how many parts you’re looking to wrap and the complexity of the design.

If you choose to go the professional route, shop around for different companies and ask them if they have done motorcycles before. You’ll appreciate the results more if it was done by someone familiar with the operation of a bike.
You might wonder why it costs so much to wrap a motorcycle when there isn’t as much surface area as a car. Again, this goes back to complexity. The wrapping material isn’t too expensive, but the time it takes to do a quality job can add up. Since a car is like a big canvas, a large area can be wrapped relatively quickly. Motorcycles, however, have more individual parts with different contours and unique shapes. This fact adds to the complexity and, ultimately, cost of wrapping your bike.
DIY Wrapping Costs
If hiring a professional is outside your budget, which for many of us is the case, you may want to try your hand at doing it yourself. Many people with wrapped bikes did just this. While your first attempt may not be perfect, this can be a DIY option with a little patience and a few tools.
However, be forewarned that it’s not a job for the impatient type and can be difficult to master. However, it doesn’t mean you can’t do it or should avoid attempting it.
The great news about wrapping your bike is the low cost of materials. A good quality vinyl wrap product will cost between $4.00 to $8.00 per square foot. If you’re looking for a custom wrap, it will be much less expensive than a car since the square footage of a motorcycle is relatively small. You can usually purchase all of the materials for a full wrap at an average price under $100, even for the higher-end designs.
What you save in supplies, you’re making up for in sweat equity. Don’t expect this effort to be a quick afternoon DIY project. The more time you invest into the project, the better the outcome. In addition to physically wrapping the parts, you’ll also need to account for the time it takes to disassemble and reassemble the parts.
If it’s your first stab at doing this, also expect to make some mistakes. While you can easily remove your mistakes, you will probably toss a wrench or two in frustration of having to start over. Be sure you order plenty of extra material for times when this happens.
Tools
The other great thing about wrapping your bike is the inexpensive and easy-to-find tools you need for the task. Armed with a pair of scissors, straight edge, and heat gun, you have everything you need to get to get the job done.

Let’s take a closer look at each item you’ll need to wrap a motorcycle:
Heat Gun: A heat gun is one of the most important tools, as it will allow you to bond the vinyl to the bike. Make sure you get a heat gun that has a range of 140 to 180 degrees Fahrenheit (90 degrees Celsius).
Infrared Thermometer: You’ll need to check your temperatures to hit the tight temperature. The best tool for this is an infrared thermometer.
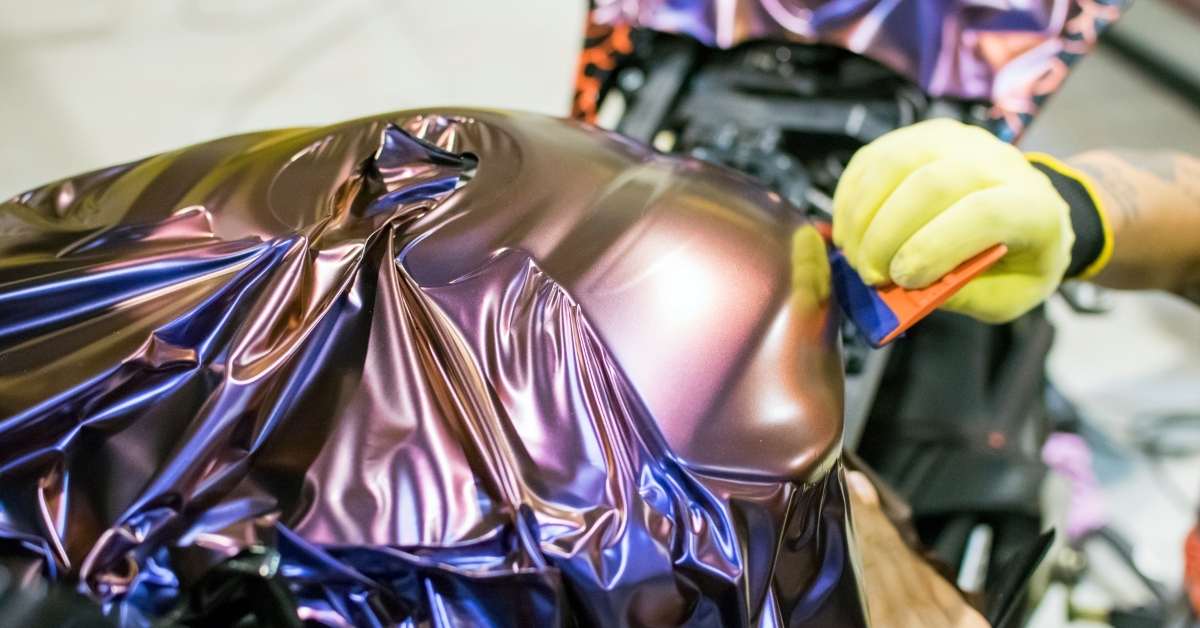
Squeegee: You’ll need this tool to iron out the wrinkles and achieve a nice smooth finish.
Masking Tape: You’ll need some tape for certain sections of the bike, like the mirrors or anywhere that you need to cut around. It’s also useful for laying out graphics.
Measuring Tape: You’ll need a soft, flexible measuring tape. One with a magnet is helpful for metal parts.
Cutting Blades: Choosing the right cutting blade for motorcycle wrapping is important. is essential. You’ll want to choose a knife with a 30-degree blade and a metal frame to prevent any flexing and ensure straighter cuts.
Cleaning Solution: Prep work is key to a quality job. You can purchase wrap pre-cleaner and wrap post-cleaner when you order your materials.
Magnets: When doing this work solo, magnets will be your friend for all metal sections. For plastic pieces, some small clamps will also work.

Selecting Vinyl Material
If you’re going through the trouble to wrench apart your bike and wrap it, do yourself a favor and invest in high-quality material. The quality of material can make the difference from a “just okay” looking job to something that stands out amongst the crowds. The best thing to do is purchase the material from a reputable shop or website and read many reviews. If in doubt, look for 3M or Avery wrap materials, as they are two of the most popular manufacturers.
Estimating how much material you need
This step can be tricky, especially if it’s your first time doing it. However, I always recommend that you order a little more than you think you’ll need because it’s easy to underestimate, neglect the increased size needed because of curves and contours, and deal with a mistake.
The best way to estimate your needs is to measure each part individually. Most rolls of wrap will come in a 5′ width. The length will be based on whatever you order. For motorcycles, you can usually cover several pieces with a 5′ width of vinyl, but off-shaped sections can sometimes take more material than you think. For this reason, it’s best to measure each part individually. Using a flexible tape measure, measure each section. After you get your measurement and are sure it will fully cover the piece, add a little extra.

Complete these measurements for each part of the bike you plan to wrap. Next, you’ll need to plan your job and figure out how many feet of a vinyl roll or vinyl sheets you need to order. For example, if you’re working with a 5′ roll, you’ll likely be able to cover several pieces of the bike that have similar lengths for a 5′ section. I like sketching the job on paper, drawing individual cuts, and labeling each part. Next, lay out the sketches in whatever width of the roll you’re working with, and then add it all up. This method will give you a safe estimate of how many feet you need to order. Once you do this, be sure to add in some wiggle room for measuring errors, overlap, and of course, mistakes.
How long does it take to wrap a motorcycle?
This question is very hard to answer, as the time will largely depend on your skills, patience, attention to detail, and job complexity. However, if you’re wrapping a bike for the first time (which is probably why you’re reading this article), then expect to spend many hours in the garage. For instance, wrapping a fuel tank for the first time can take 5-6 hours of prep, cutting, alignment, and application. Now, if you multiply this for the entire bike, you can expect the spend well over 25 hours on a bigger job.
That said, it’s a good idea to break this up into smaller steps. Start with the easy section in a less conspicuous space, and work up to the harder sections. Plan to make mistakes and learn as you go. There are a lot of great resources online to watch, so spend a lot of time doing research and youtube learning.

Also, don’t forget to factor in the time it will take to remove and replace your bike components. For some bikes, this may be easy. For others, it can make you wish you had never started this project. Also, don’t start with complex designs for your first shot at this. Until you get the knack of how to measure properly, estimate angles, and apply the vinyl, you’ll likely come out with a distorted graphic. Others also suggest sticking with a two-tone design when selecting your look, as this allows you to hide seams much more easily.
Should I pay to do it myself or hire a pro?
Well, this ultimately comes down to cost and commitment. If you have a $30,000 Goldwing, spending $3,500 on a professional wrap job may not seem so painful. However, if you’re cruising around on a $4,000 used 650 sport bike, you probably don’t want to make that investment.
If you choose the DIY route, you need to know what you’re getting into. You can probably do a decent job if you have patience, time, and some extra hair to pull out. However, if you’re the type of person that cringes if thinking about putting a two-sided puzzle together, this may not be the job for you. Only you can make that choice. If you’re on the fence, a good test is to spend $15-$20 on some cheap wrap and practice on the things around the house or even your motorcycle helmet. Once you get a feel for it, you’ll quickly learn if it’s a job for you to take on or avoid
Conclusion
Whether you doing a partial wrap or the entire motorcycle, adding vinyl to your bike is one of the best ways to change the look of your motorcycle. It’s a great way to achieve ultimate customization for a relatively low cost (if you do it yourself). In fact, it can greatly increase the resale value of your bike. While you may choose to take it to a professional detailer who specializes in motorcycles, with a little practice and patience, a determined motorcycle enthusiast can learn how to do it.

Wrapping a bike isn’t just an option for fenders and plastic parts, you can wrap almost any surface- even your gas tank. Adding motorcycle graphics is easily achieved, a popular option, and much cheaper with vinyl than hiring a professional painter. With proper care, vinyl will also last a long time. If it gets damaged, it’s easy to remove, and it won’t harm the original paint job.
If you decide to give it a try, make sure you purchase high-quality material. I would also suggest starting with the simple stuff with a smooth surface first. You want to get your feet wet before you decide to take on a full motorcycle wrap job. It’s won’t be easy, but you’ll be proud of the results if you take your time and work carefully. It may not be the fastest, but it’s definitely a good way to change the look of your bike.
